Showing posts with label gelatin printing. Show all posts

Thursday, May 7, 2015

Gelli Plate Experiment & Star Attraction

I have had fun in the past experimenting with gelatin plate printing so when I discovered the Gelli printing plate I was pretty interested to work with it too.  The Gelli plate has a clear, soft surface.  It holds it's shape, unlike the slow (or sometimes quick) decomposition of gelatin.
I first tried printing on fabric using my usual Jacquard fabric paints.  I did not like the response of the paints to the printing plate.  I need to experiment further but the paints seemed to react to the plate.  Once dry, the paint easily peeled off of my silk, an effect I have not seen before. 
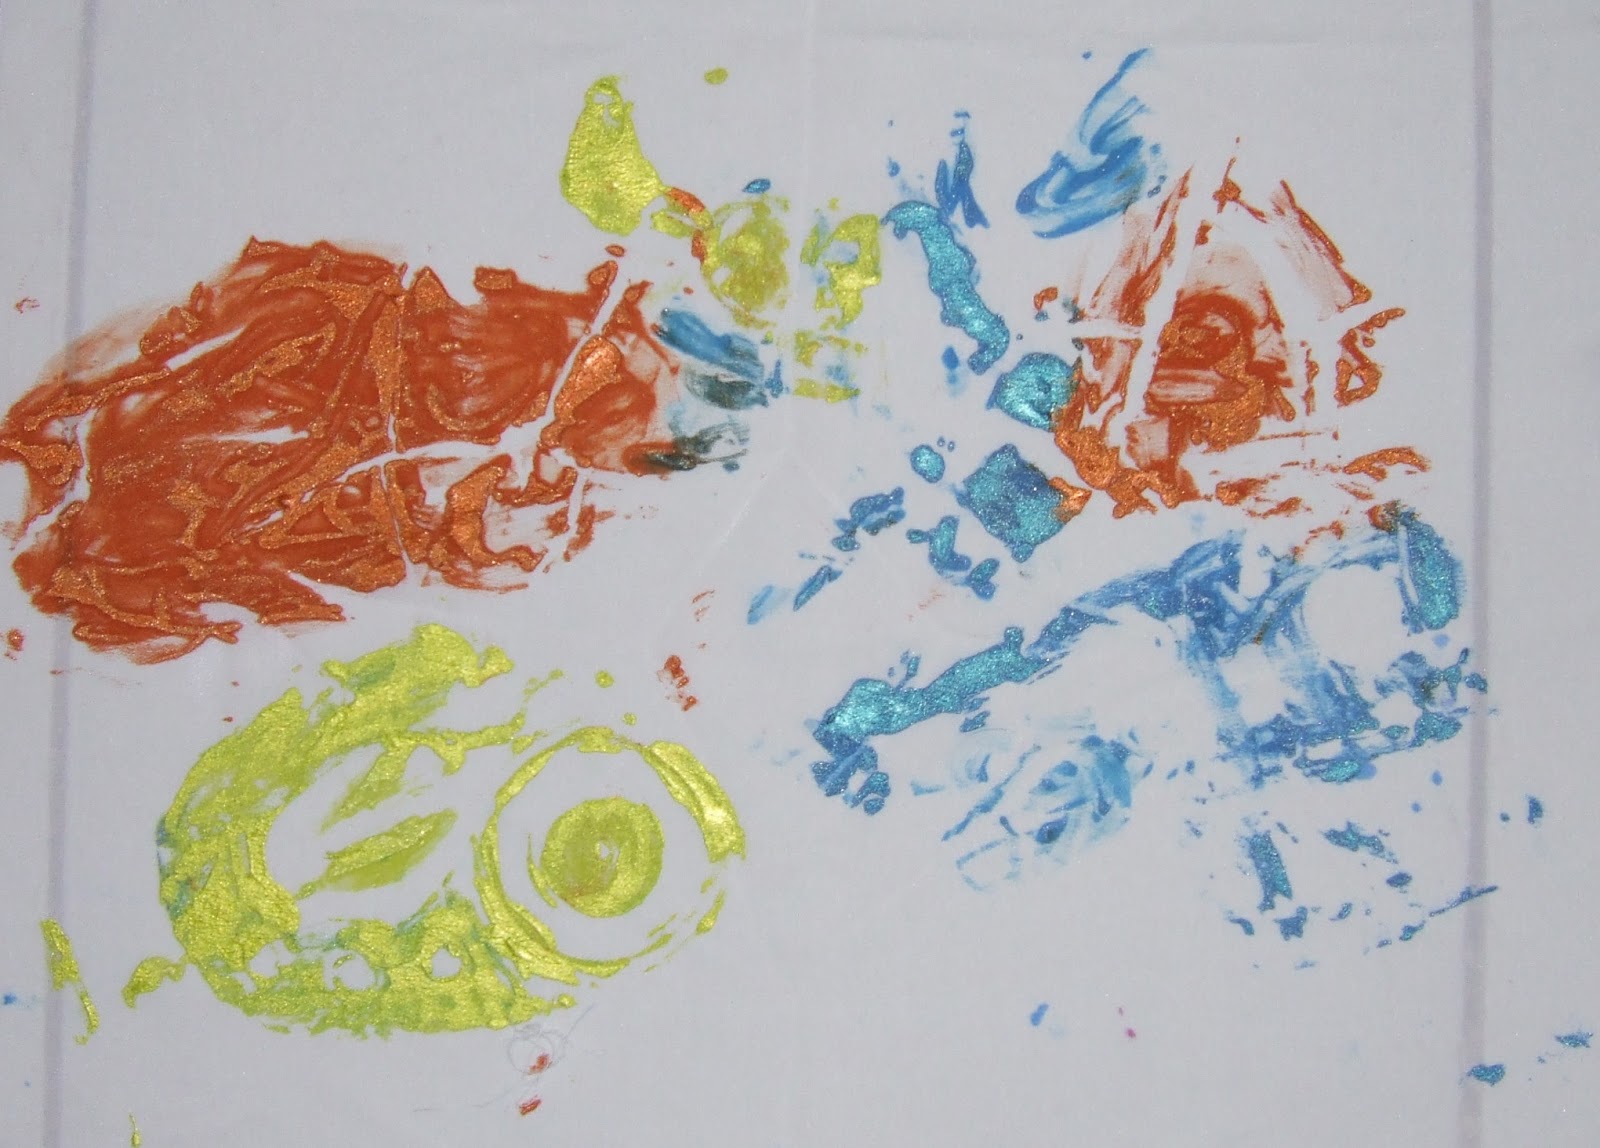
My next experiments were much more successful.  I made the prints shown here using lightweight cardstock paper shapes.  This time I used transparent and semi-transparent Liquitex Basics acrylic paints. 

Steps to Monoprinting
1. Smooth a small amount of paint with brayer on the Gelli plate.
2. Quickly arrange cardstock cut-out shapes on plate
3. Align paper over plate
4. Gently but firmly press hand all over paper.
5. Carefully lift paper and set aside.
6. Remove cutouts. Optional, place 2nd paper down to pick up ghost image (paint that remains on the plate.
7. Clean Gelli plate and brayer. (I used wetwipes.)

In other news, a new fabric design available in my shop: Star Attraction.
http://www.spoonflower.com/designs/4025676

http://www.spoonflower.com/designs/4025690


Wednesday, July 24, 2013

Trashy Art

I am fortunate enough to live near the beach and take frequent walk within view of the ocean.  I also live in Senegal which means that unfortunately the view on those walks are marred by rubbish.  Sadly, many Senegalese drop their rubbish everywhere.  My children are disturbed by this also and so on one of our walks, I suggested that we pick up some of the trash and see if we can turn it into something beautiful. 
We picked up some interesting bits and washed and bleached them.  Many of the pieces can be seen on the green tray pictured above.  
We next prepared trays of gelatin (great instructions here.)  We used opaque and transparent textile paints and either painted our gelatin surfaces or objects and laid silk over surfaces.  We also utilized the ghost images.  Below is a series of some of the most interesting prints we created.  If you decide to do a project like this with your kids, make sure you have plastic gloves, aprons and clothes you are unworried about staining.  Clean up supplies should be close at hand as well.  


Monday, March 4, 2013

My Street- Pretoria, An Art Quilt


About two and a half years ago Quilting Arts had a reader challenge that inspired me to do a quilt of my street.  I had just moved to South Africa at the time.  It was spring there, just before rainy season and the plants were all flowering.  Security is a serious issue in South Africa and I could help but remark on the juxtaposition of the heavy security and massive walls with the delicate beauty of Jacarandas and Fever Acacia in bloom looking like they were a part of a beautifully landscaped garden. 
The quilt is 12 1/2 x 16 1/8 x inches  (31.75 x 41 cm.)  The background is a gelatin print on cotton.  I used cottons and silk fabrics and plastic mesh screening. I used several techniques: couching of wool, cotton, polyester & plastic fibers, embroidery, beading, applique and painting with fabric paints.


Friday, August 12, 2011

Strength

I have been working on two art dolls with polymer clay faces.  The first of these dolls that I have completed is titled, ‘ Strength.’  I tried to approach the theme on many levels.  Her torso is hand printed Kona cotton, from my gelatin printing session.  I have embroidered the rune, strength, on her abdomen and have sewn garnet and agate beads, historically aligned with physical strength along the base of the torso.  I speculate that garnet and agate were symbolic for physical strength based on their likeness to blood and bone.  Her limbs are created from a stick pruned from one of the trees here.  I used the tree to represent the rooted quality and flexibility of a tree despite strong winds and rains.  The stick also doubles for her backbone.  A strong backbone is crucial for any character of strength.  I used a beaded fringe around her lower leg with green hearts for growth, love and compassion; all additional ingredients for strength. 

The figure’s face and feet are sculpted of rose colored clay and painted with opaque and translucent acrylic paints.  Her eyes and lips were then painted with high gloss varnish.  I felt the feet were a very important feature, not only to serve as a base for the doll to stand by but also as an expression of strength.  Feet are muscular, they connect directly to the earth and move us through life.  Feet do a lot of work and so are very representational of strength to me.  Strength’s hair is handspun wool that I picked up in Virginia at a fiber shop that is sadly now out of business. 

I really enjoyed creating this figure.  She is much more abstract than most of my art dolls. 


Friday, May 6, 2011

Gelatin Printing On Fabric


Today Beth (who wanted to remain faceless), Maureen, and Janalee came over to investigate gelatin printing with me. Beth and I prepared cookie sheets and pie tins of gelatin last night. This morning when we began we had some difficulties. While, it was not too hard to remove the gelatin from the pie tins, it was practically impossible to get it it out of the cookie sheets in one piece. We decided to leave the gelatin that was in the cookie sheets and work directly from the tray. We used foam brushes and brayers to apply water soluble fabric paint onto the gelatin's surface and then layered stencils, paper cutouts and plant materials over the paint layer.

     
We printed on prepared for dye cottons (fabric from Dharma.) Lay the fabric on the paint and press your hand or hard brayer over the fabric.  The picture on the left shows two layers of paint and you can see the brush marks and stencils clearly. 


This image is a 'ghost image'.  That is, the paint that is left over after the first print and the stencils are moved.  The stencils can be flipped, and repositioned.


When you are done with your original and ghost, just wipe the plate gently with a damp paper towel and on the the next image.
  
Here, Janalee used one of her stencils as a stamp.  She painted it orange and then rolled the brayer over it. 


  Eventually, the plates fall apart.  I had a lot of fun.  The process is very tactile, a little messy but inexpensive and requires little special materials.  I think I will try it with the kids when they come home.

Further resources:  Pokey Bolton of Quilting Arts has a great 'how to' blog article.  Linda Germain has very good video on Youtube on gelatin printing on paper below.